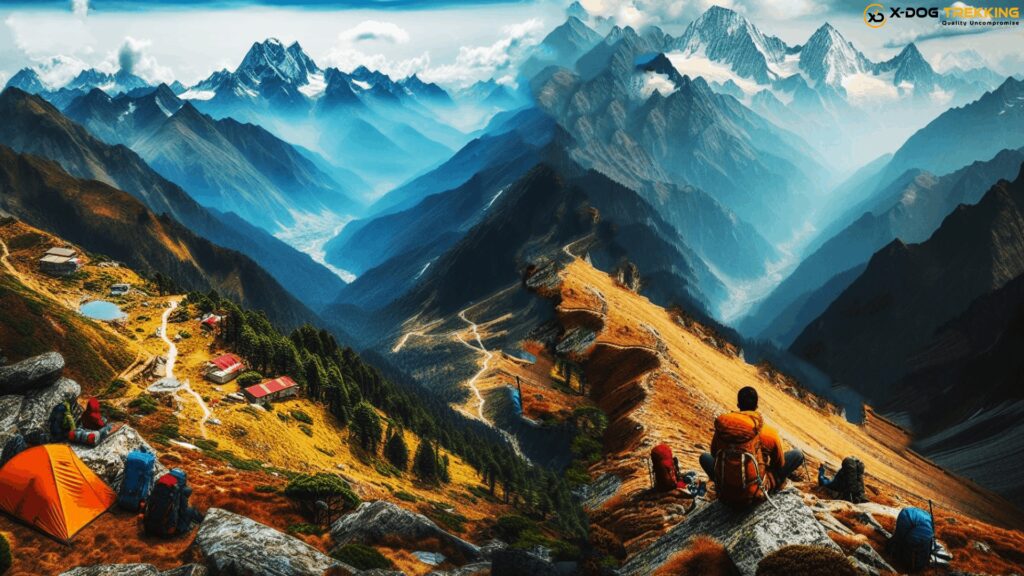
Kedarkantha Peak Trek stands out as a premier winter trek and hiking destination in Uttarakhand, India, boasting an elevation of 12,500 feet. This trek is renowned for delivering unparalleled satisfaction to trekking enthusiasts. What sets the Kedarkantha trek apart is its exceptional panoramic views, offering a breathtaking perspective of the entire mountainous landscape. The icy wind stung my face as I trudged up the snowy trail in the dim morning light. My legs were ready to give up but Kedarkantha Peak beckoned me for one final push. As the first rays of the sun peeked over the mighty Himalayan peaks, I scrambled over boulders and reached the summit. The vast vista that unfolded took my breath away – I had conquered Kedarkantha! This challenging yet immensely rewarding trek changed my life forever. Let me take you through how…
All About Kedarkantha Peak
Nestled high up in the Garhwal Himalayas, Kedarkantha Peak stands tall at 12,500 ft. This pristine snow-clad beauty offers stunning views, mystical campsites, and diverse landscapes that enthrall your senses. Its moderate difficulty makes it suitable for beginners undertaking their first high-altitude trek. Yet the sense of achievement upon summiting Kedarkantha entices even the seasoned trekker.
This definitive guide covers everything I learned through my life-changing trek to conquer Kedarkantha Peak. From permits, gear and safety to vivid descriptions of the sublime Himalayan beauty surrounding Kedarkantha, I share my experiences to help fellow trekking enthusiasts plan their dream journey.
The Allure of Kedarkantha Peak
Part of the Govind Pashu Vihar National Park in Uttarkashi district, Kedarkantha lies flanked by famous peaks like Swargarohini, Bandarpoonch and Ranglana. I could recognize these giants during my trek by their unique shapes and heights.
The mountain is named after Lord Shiva and called ‘Shiva’s throat’ due to its throat-like formation when viewed from certain angles. At 12,500 ft, it makes for an ideal summit climb – tough yet attainable with a moderate fitness level.
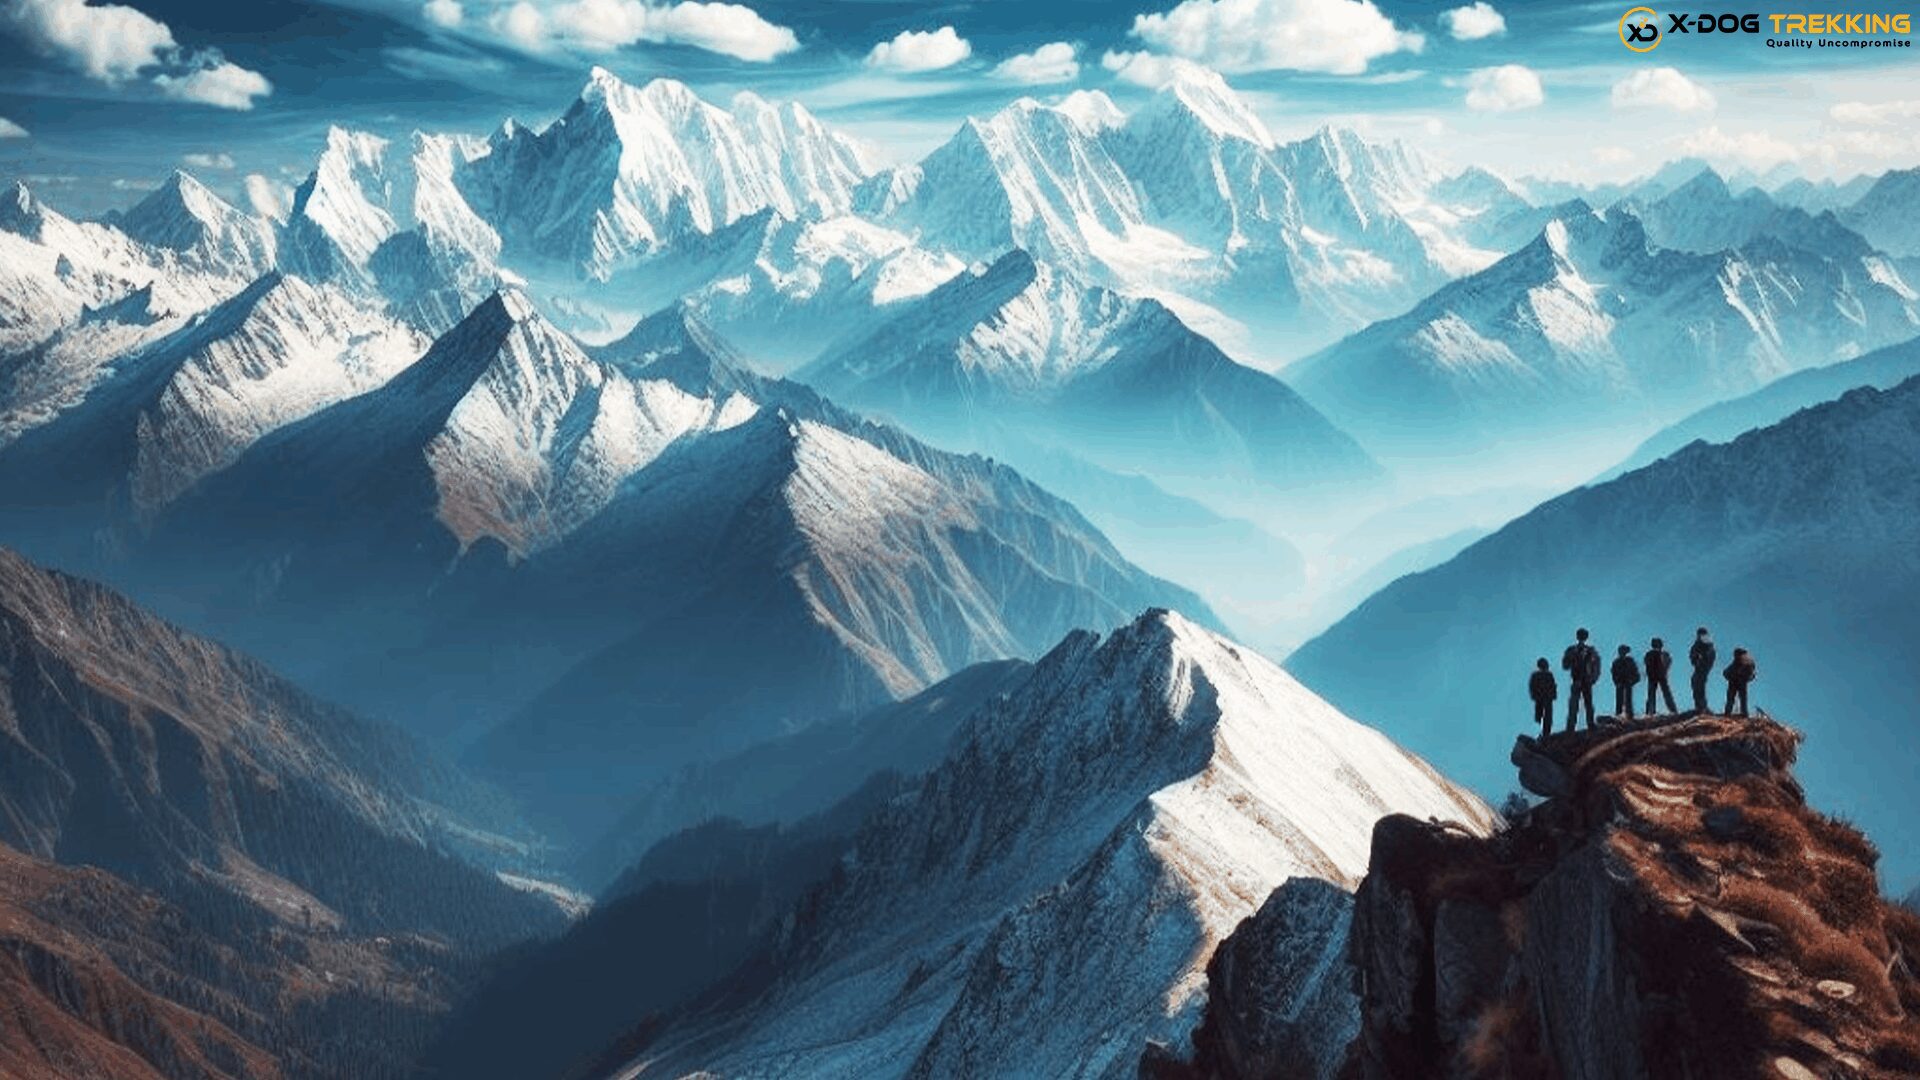
Nothing quite prepares you for the vast Himalayan spectacle that unfolds at the top. It was difficult to draw my eyes away from the endless vistas spanning Himachal Pradesh, Gangotri group, Badrinath, Nepal, and Tibet! Such enthralling 360o views make all the pain worth it.
The Mesmerizing Kedarkantha Route
Total Distance: 28 km
Duration: 5-6 days
The trek starts from Sankri (6,455 ft), a quaint village bursting with lush greenery. The route winds through verdant forests and wide meadows before culminating at the Kedarkantha summit. Some highlights along the trail are:
Juda Ka Taal: An Idyllic Lake
Imagine waking up to mist floating above a pristine emerald lake framed by mighty snow-clad peaks. That’s Juda Ka Taal for you! Camping on its gravelly banks with the stars as the company was an ethereal experience.
Hargaon Camp: Rejuvenation Amidst Nature
Hargaon camp with its vast meadows and views of the Swargarohini massif was an oasis of respite. The peaceful setting and warm hospitality helped rejuvenate my sore limbs after days of arduous trekking.
The itinerary with distances and altitudes is:
- Day 1: Sankri to Juda Ka Tal – 4 km, 9,100 ft
- Day 2: Juda Ka Tal to Hargaon Camp – 6 km, 8,950 ft
- Day 3: Hargaon Camp to Juda Ka Taal – 6 km, 9,100 ft
- Day 4: Juda Ka Tal to Kedarkantha Base – 4 km, 11,250 ft
- Day 5: Kedarkantha Base to Summit; Descend to Hargaon – 8 km, 12,500 ft
- Day 6: Hargaon to Sankri – 12 km, 6,455 ft
The final climb is undoubtedly the most challenging yet rewarding stretch. Reaching the top as the sun rises made all the hardship absolutely worth it!
Best Time for Kedarkantha Trek
Kedarkantha can be trekked year-round but December to April is the best season. These winter months see heavy snowfall, turning Kedarkantha into a pristine white wonderland! Although extremely cold at night, sunny days made for perfect snow trekking.
Summers can be wet with leech infestations on the trail. I’d advise avoiding the monsoon months when there’s heavy rainfall and risk of landslides.
How to Reach Kedarkantha Peak?
- By Air: Jolly Grant Airport in Dehradun located 250 km from Sankri was my gateway. Regular taxis and buses connect Dehradun to Sankri in 8 hours.
- By Rail: Dehradun railway station, 200 km from Sankri, was the nearest railhead for me. Shared cabs are available to cover the onward journey.
- By Road: To enjoy the full journey, I road tripped from Dehradun to Sankri, stopping at charming hill stations like Mussoorie on the way. The 200 km drive takes about 8-10 hours by bus or private taxi.
Acclimatization Hacks for High Altitude
As a first-time trekker, acclimatizing to the high altitude was crucial. Here are some tips that helped me:
- Take a day’s rest in Sankri before the trek to get used to the climate
- Climb slowly and steadily without overexerting initially
- Stay hydrated and avoid smoking or drinking alcohol
- Look out for tell-tale signs of altitude sickness
- Pop a Diamox if feeling breathless but consult a doctor first
Following these kept altitude sickness at bay and helped me adapt to the low oxygen levels.
Things to Carry for Kedarkantha Treks
Based on my experience, here are the essentials I’d recommend carrying in your 40-60 liter backpack:
- Sturdy trekking shoes with good traction
- Woolen layers, a down jacket, and warm gloves
- Waterproof jacket and snow pants
- LED torch, sunglasses, and sunscreen
- Hydration bottles and energy bars
- Trekking pole for uphill climbs
- Medicines, first-aid kit, and emergency cash
- Do carry light snacks to munch on in case meals aren’t sufficient to provide energy for the long trails.
X Dog Trekking offers Trekking gear for Rent like backpacks, trekking poles, camping equipment, etc. at reasonable prices in Bangalore.
Detailed Kedarkantha Trek Itinerary
Based on my experience, here’s a detailed day-wise itinerary to plan your journey:
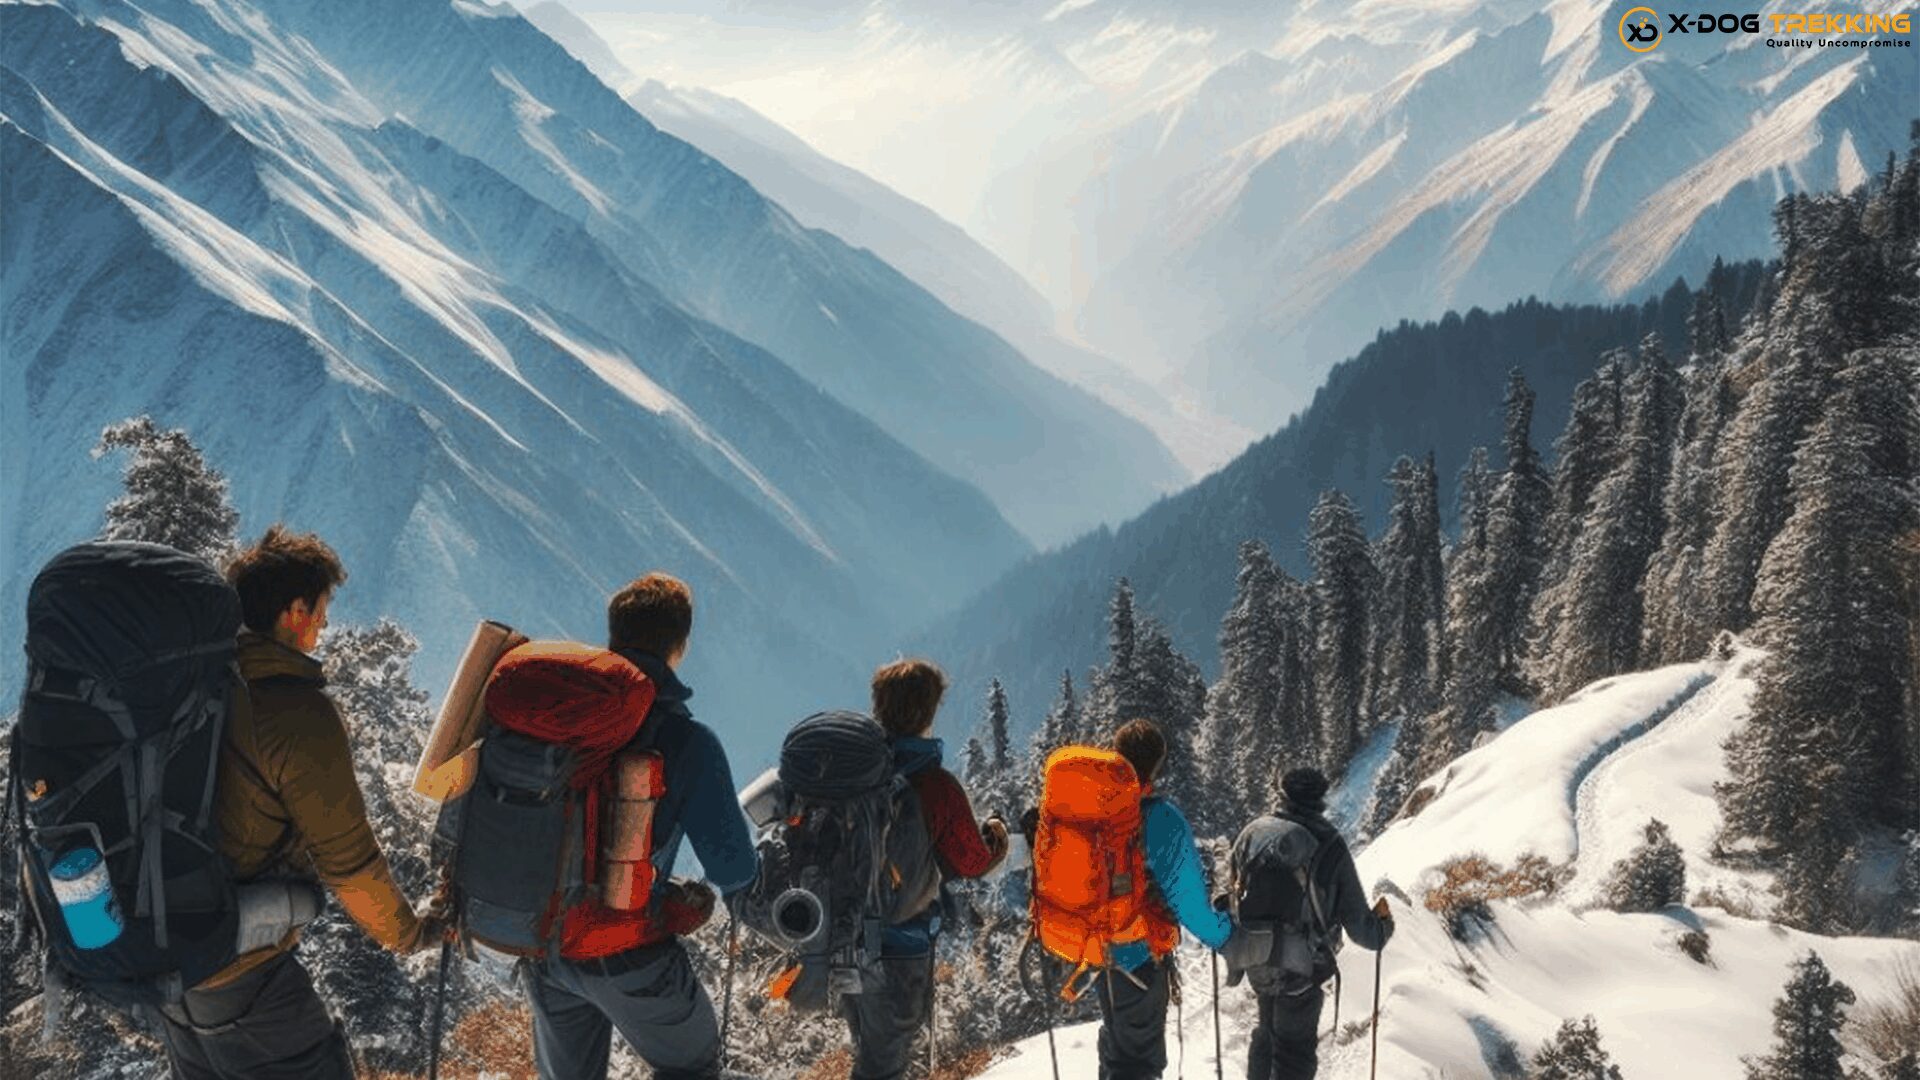
Day 1: Dehradun to Sankri
The road trip from Dehradun took me about 8-10 hours to cover the 200 km distance. Reaching Sankri by evening, I checked into my guesthouse and took an acclimatization rest.
Day 2: Sankri to Juda Ka Tal
Distance: 4 km
Altitude: 9,100 ft
Time: 4 hours
After a hearty breakfast, I commenced my trek, crossing over gushing streams and dense forests before catching first glimpses of Juda Ka Taal. After setting up camp, I relaxed by the lake as the sun set behind the imposing peaks.
Day 3: Juda Ka Tal to Hargaon Camp
Distance: 6 km
Altitude: 8,950 ft Time: 6 hours
Descending into a valley, the trail transitioned from forests to rolling grasslands with breathtaking vistas. I spotted some exotic Himalayan birds before arriving at the sprawling meadows of Hargaon by late afternoon.
Day 4: Hargaon to Kedarkantha Base
Distance: 4 km
Altitude: 11,250 ft Time: 4 hours
This short yet steep climb took me through boulder sections and snow-covered slopes. Reaching the base camp, I caught first glimpses of the magnificent peak that I was about to summit.
Day 5: Base to Summit and Back to Hargaon
Distance: 8 km Altitude: 12,500 ft
Time: 8 hours
With bated breath and a racing heart, I began the final ascent in darkness armed with my torch. The sun rose just as I reached the top and the views left me spellbound! After some celebration, I climbed down to Hargaon for rest.
Day 6: Hargaon to Sankri
Distance: 12 km
Time: 5 hours
The last day was spent descending via the Supin valley back to Sankri where our trekking adventure had begun. Refreshing hill-station vibes and hot running water rejuvenated my tired body after the long trek!
Kedarkantha Trek Cost and Permits
- Forest Permit: INR 150-250 per person
- Camping Charges: Around INR 800 per person
- Guide Fees: As per group size
- Trek Cost: INR 10,000 – 12,000 per person excluding transport
- Take travel insurance just in case of any uncertainties
- Keep valid ID proof and permits handy for random checks along the way.
Food and Accommodation on Kedarkantha Trek
- Modest guesthouses in Sankri provide hot running water and clean linen
- Alpine tents are set up at campsites on a sharing basis
- Wholesome satvik vegetarian fare is served throughout the trek
- Pack your own snacks if you need a quick energy boost
- I’d advise avoiding alcohol or smoking at high altitudes to aid acclimatization.
Difficulty Level of Kedarkantha Peak Trek
For first-timers like me, Kedarkantha is an ideal beginner-level high-altitude trek of moderate difficulty. Here are some tips I’d recommend to prepare:
- Start easy cardio like jogging and build higher stamina
- Complement with strength training – squats, lunges, planks
- Get used to walking long distances with your backpack
- Work on speed and agility to improve trek pace
- Carry out simulated treks to test fitness
With some targeted preparation, Kedarkantha is an achievable dream summit even for novice trekkers like me!
Snow Trekking on Kedarkantha Trail
In winter, expect heavy snowfall on the trails leading up to the peak. Walking through fresh powdery snow was an otherworldly experience! Here are some tips I learned:
- Waterproof trekking shoes with ankle support work best
- Layer up with multiple woolen and windproof clothing
- Trekking poles with snow baskets provide balance and grip
- Apply sunscreen and lip balm to prevent sunburn and chapping
- Stay hydrated and watch out for frostbite or hypothermia symptoms
Kedarkantha covered in snow is incredibly beautiful albeit challenging. But the trick is to prepare well and the rewards are unmatched!
Safety Tips for Kedarkantha Peak Trek
Based on my lessons, here are some key safety pointers:
- Acclimatize adequately before attempting long hikes
- Always trek with an experienced guide familiar with the route
- Check weather reports and avoid poor conditions
- Stick to the trail and never trek alone, especially at night
- Maintain a steady, slow pace to avoid altitude sickness
- Keep emergency numbers and medical history accessible
- Look out for tell-tale signs of altitude sickness
- Follow eco-friendly practices to sustain the fragile mountain environment
Staying aware and alert is key to an incident-free trek.
Why Kedarkantha Trek Should Be On Your Bucket List?
Here are key reasons why Kedarkantha trek makes for an unmissable Himalayan adventure:
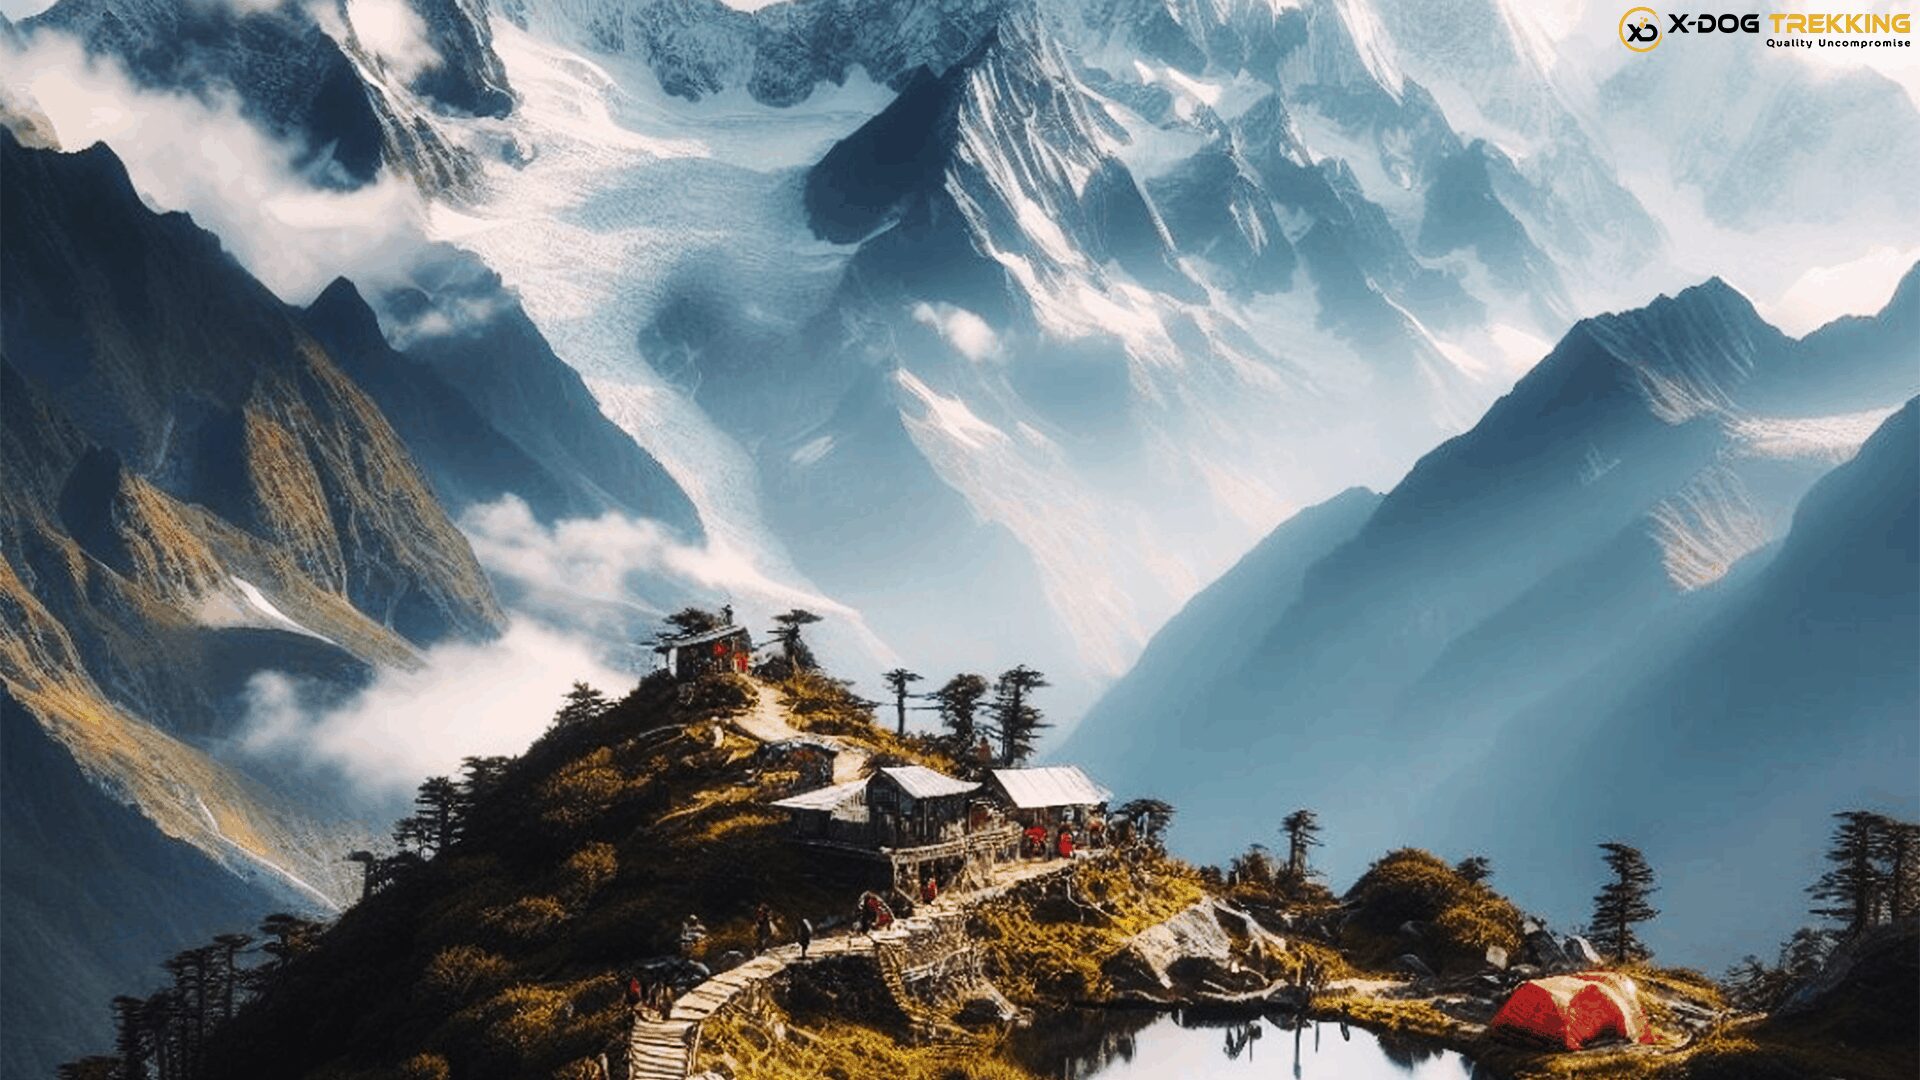
- Scenic Landscapes: From verdant meadows and forests to an icy wonderland near the peak, the diverse scenery is breathtaking! Camping under starry skies next to the divine Juda Ka Taal is an ethereal experience.
- Chance to Summit a Peak: The sense of triumph upon summiting a 12,500 ft peak is surreal, especially for beginners! Kedarkantha is just the right blend of challenge and rewards.
- Gateway to Himalayan Trekking: For first-timers like me, conquering Kedarkantha opens doors to attempting more difficult Himalayan treks in the future. It’s a perfect beginner-level peak.
- Diverse Flora and Fauna: The Govind National Park trail offers sights of unique Himalayan flowers, exotic birds, and rare fauna amidst lush greenery.
- Sheer Sense of Achievement: The unparalleled joy of completing a high-altitude trek, proving your grit and stamina, stays with you forever. Kedarkantha gave me immense confidence and self-belief.
These rewarding experiences make the Kedarkantha trek an absolute must-do Himalayan adventure!
How to Plan Your Dream Trek to Kedarkantha?
After my life-changing experience, I hope this guide helps you plan your own journey to conquer the magnificent Kedarkantha peak. Although challenging, few adventures can match the sheer sense of achievement you feel at the summit.
Relish the lush green meadows, icy landscapes, quaint villages, and fun camping experiences along the way. Let the quiet wisdom of the Himalayas transform you into a stronger, wiser version of yourself.
So get set for the trip of a lifetime. Gear up, pack up, and prepare to be mesmerized! The mountains are calling – it’s time to conquer Kedarkantha!
Frequently Asked Questions About Kedarkantha Peak Trek
1. How can I reach Kedarkantha for the trek?
The nearest airport is Dehradun, from where taxis, buses or trains can be taken to reach Sankri which is the starting point of the trek.
2. What is the best time to visit Kedarkantha?
The ideal time is winter (December to April) when the peaks are snow-covered. Summers can see some rainfall while monsoons must be avoided due to the risk of landslides.
3. What’s the level of difficulty of this trek?
Kedarkantha is a moderate trek suitable for beginner-level trekkers. Reasonable fitness is required to summit the peak. It’s achievable with some preparation.
4. How cold does it get on the Kedarkantha trek?
In winter, temperatures can range from 10°C during the day to -5°C or lower at nighttime. Carrying proper woolen and windproof jackets is essential.
5. What type of shoes should I buy for the trek?
Waterproof trekking shoes with good ankle support and traction are ideal. They prevent slipping on snow or streams along the way.
6. Is it safe for a solo woman traveler?
It is absolutely safe if you trek with a certified tour organizer having experienced guides and proper arrangements. Do not trek alone, especially at higher altitudes.
7. What is the level of fitness required?
Having a moderate fitness level with the ability to hike 5-6 km daily without exhaustion is recommended. Work on building stamina before the trek.
8. How to prevent altitude sickness on the trek?
Ascend slowly, hydrate adequately, and avoid alcohol. Don’t overexert yourself. Take proper rest and acclimatization breaks. Descend if symptoms persist.
9. What is the ideal backpack size for this trek?
A 40-60 liter backpack is recommended to carry all your essentials comfortably. Avoid carrying unnecessary items to minimize weight.
10. What is the best source of water during the trek?
It is safer to use boiled or filtered water available at campsites. Also, carry your own packaged water during the trek for emergencies. Avoid stream water due to contamination risks.
Final Tips for an Epic Kedarkantha Peak Trek
Here are some final tips to ensure your Kedarkantha trek is memorable, fun, and safe:
- Get sturdy trekking shoes, poles, and clothing well in advance
- Pack light with only essentials to avoid load on your shoulders
- Prepare physically through strength training, cardio, and simulated treks
- Have energy snacks handy for quick glucose boosts when tired
- Follow the itinerary and don’t rush the acclimatization days
- Take care of knees and ankles during steep climbs & descents
- Drink ginger lemon tea to ease nausea or headaches due to altitude
- Budget for contingencies like landslides causing route changes
- Carry sunscreen, shades, and lip balm to prevent sunburn
- Sleep early after dinner since next day’s hike starts before dawn
- Enjoy the sights but don’t let your guard down regarding safety
- Share photos but do not litter or pollute this fragile environment
- Follow these tips and you are sure to have the most epic trek of your lifetime at Kedarkantha! Just wear a smile, take a leap of faith, and set forth to create magical memories.
Read this for more information about Kedarkantha Trek ➢ 30 Things To Carry For Kedarkantha Trek
Conclusion
Conquering the magnificent Kedarkantha peak trek is a truly life-changing experience for any traveler seeking adventure in the Himalayas. With its stunning landscapes, rewarding summit views, and moderate difficulty, it makes for an ideal introduction to high-altitude trekking. This comprehensive guide with tips and information aims to help fellow outdoor enthusiasts plan their dream trek to Kedarkantha. Do share it with anyone planning their first Himalayan summit. I hope it helps them create beautiful memories in the abode of snow, just like my unforgettable journey to the top of Kedarkantha did for me!

